Home Made Bone Broth
My naturopath got me into bone broth last winter. It’s a drink or soup that contains the results of boiling bones and veggies.
It contains collagen, which seems to be in a lot of highly marketed supplements and skin-care products. It can help reduce joint pain, help fight infections and inflammation, help with digestion, and help with sleep [source]. And, I think it tastes pretty good; like all the best parts of chicken soup.

There are bone broths you can buy in cartons and bottles. I’ve found them to be hit and miss, and a lot of them are filled with added salt and preservatives. The most cost-effective source of bone broth we have found is a Korean superstore, P.A.T. Supermarket on Dundas Street in Mississauga.
I often use it as a base for chilly or stews. But you can also just drink it straight to accompany a meal, or as a filling snack.
I had bought some chicken thighs last week and I didn’t buy the ones that had already been de-boned. Rather than cook them with “bone in”, I decided to butcher them myself to remove the bones. To be fair, I butchered them rather amateurly and left a lot of meat on the bones. I was about to throw the bones in the compost, then thought I’d try cooking my own bone broth! And I’d like to share the experience with all of you!
I based my recipe on this one from Platings + Pairings, but the Amy Myers cookbook has a similar, really good recipe too. I used the ubiquitous Insta Pot but I imagine any pressure cooker will work.
Ingredients
- 1 pound chicken bones
- 2 carrots (chopped roughly)
- 2 celery stocks (chopped roughly)
- 1 shallot onion(chopped finely)
- 2 tablespoons minced garlic
- 1 teaspoon black pepper
- 1 teaspoon sea salt
- 1 teaspoon red wine vinegar (the recipe called for apply cider vinegar, which I didn’t have)
- 10 cups of water
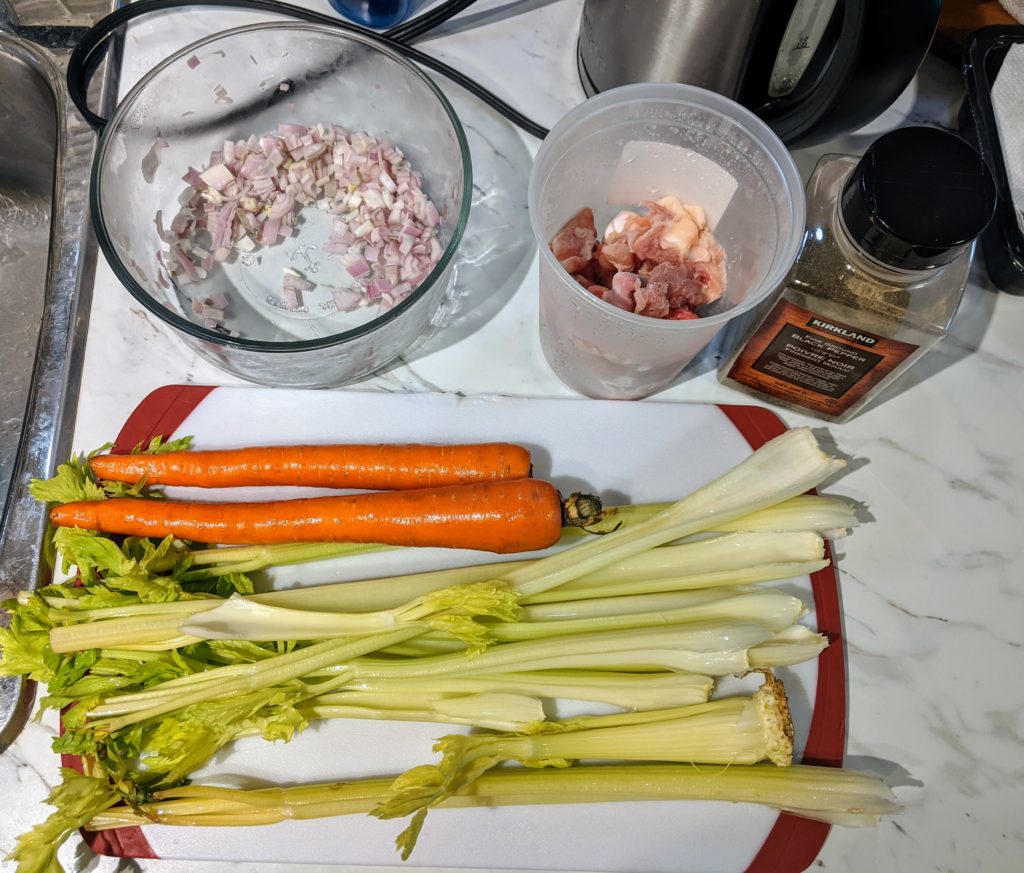
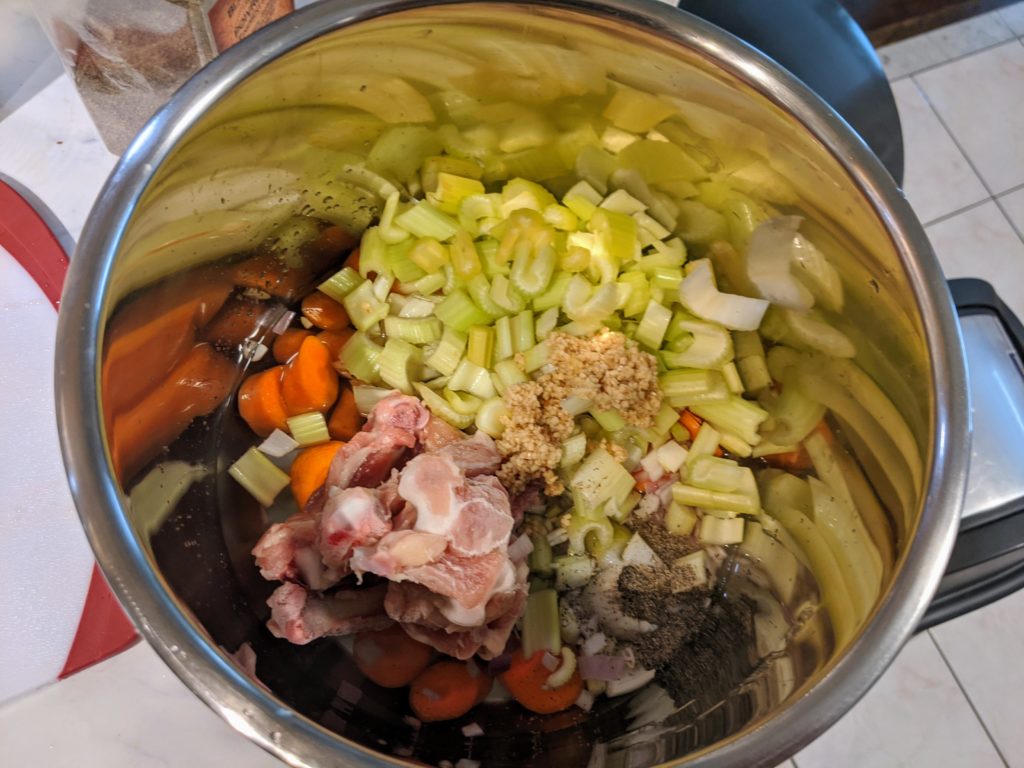
After giving a wash to your carrots and celery, chop them and add them with everything else into the pot.
After adding the water, put it in your pressure cooker on “manual” for 2 hours at high pressure. My version of the Insta Pot doesn’t have a “manual” button, so I pushed “pressure cook”.
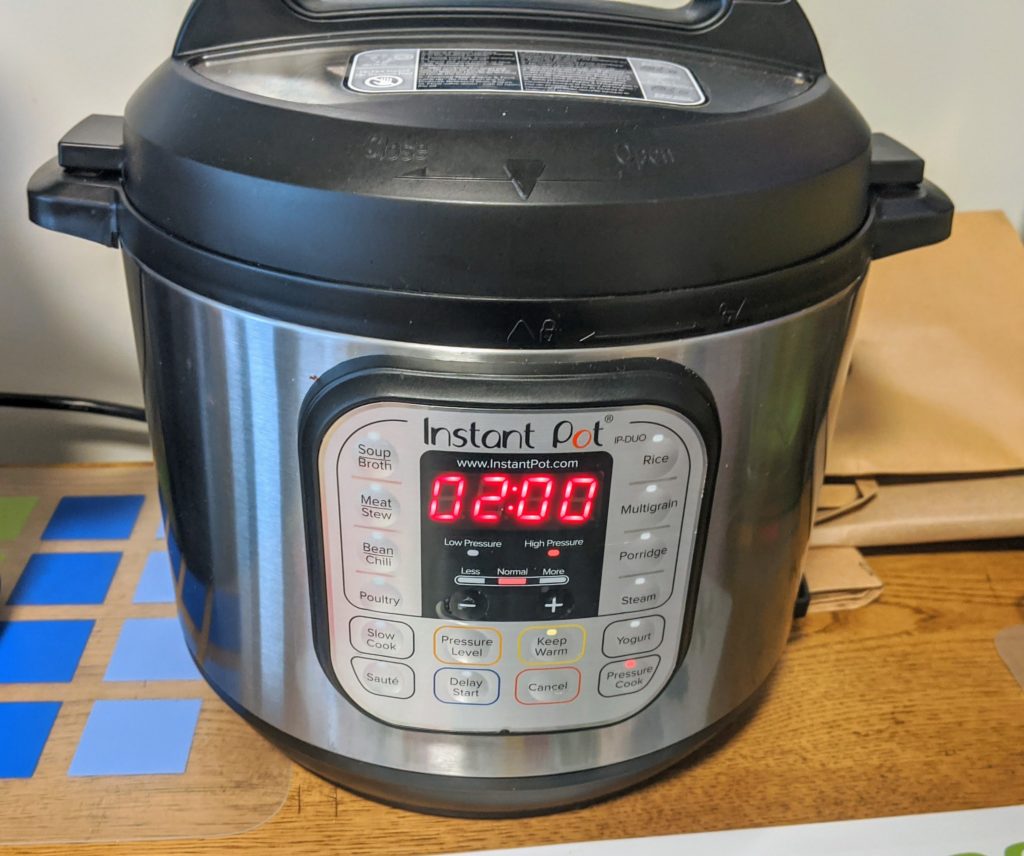
After that time expires, let the pressure release “naturally.” The recipe says it takes 15-30 minutes. I was busy doing something else so 60 minutes had elapsed by the time I came back to it and the pressure had released.
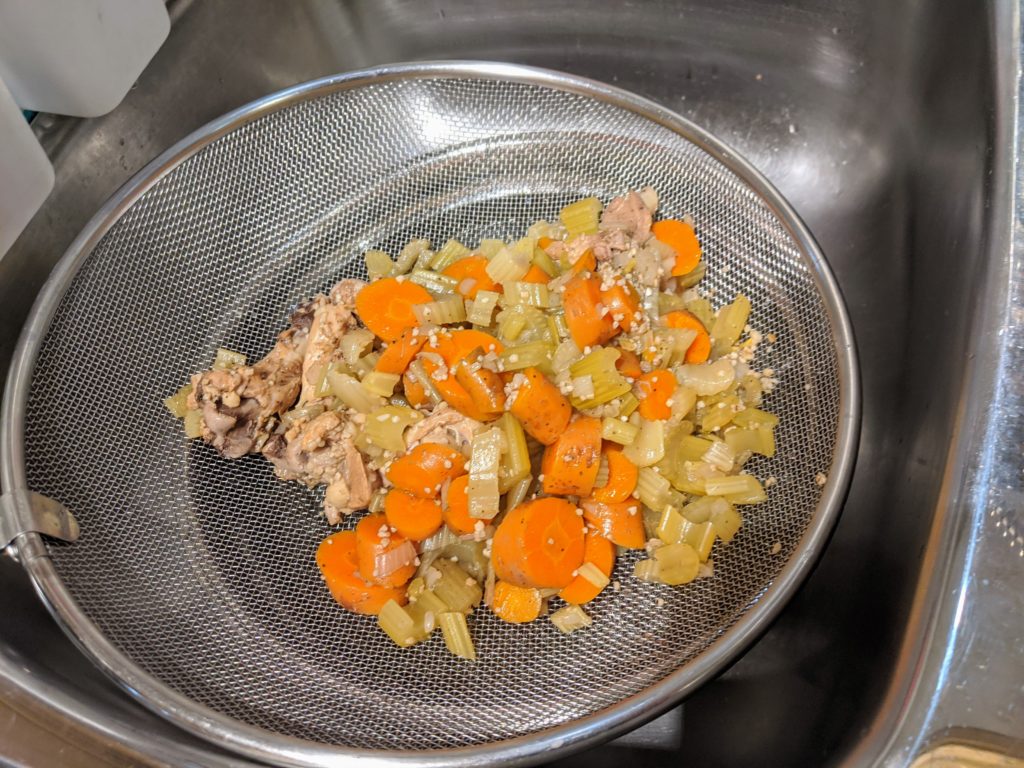
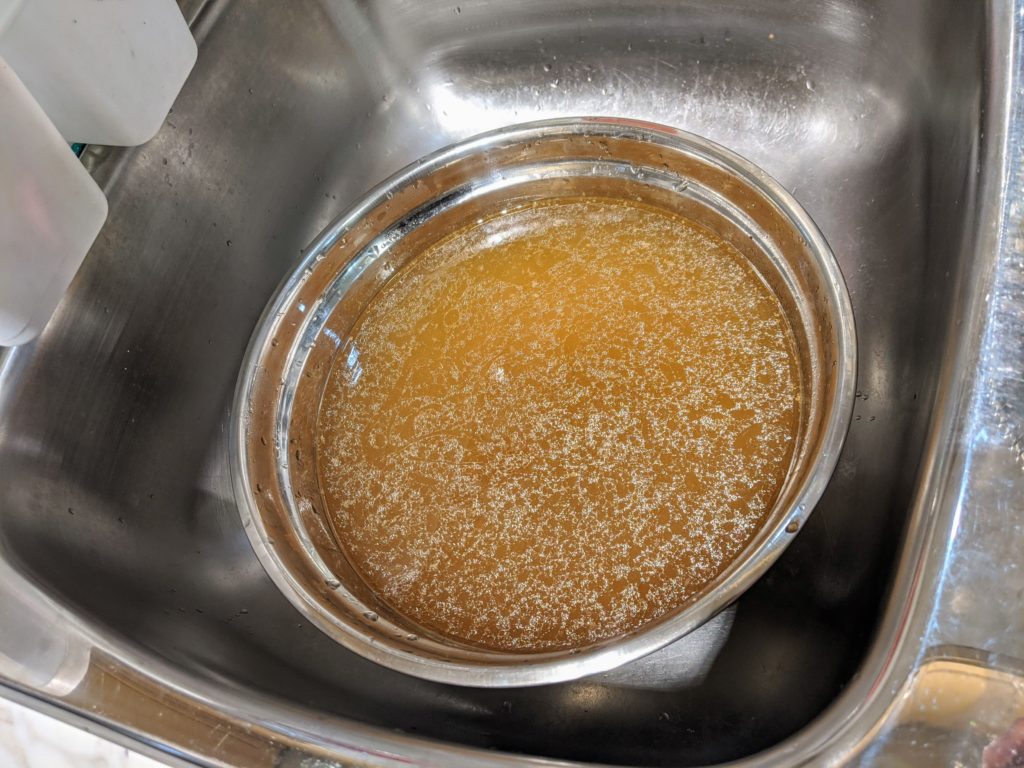
Then, strain the broth through a colander (strainer).
That left me with a bowl of fresh bone broth. Note the suspended fat in the still-warm broth. The fat had to come from somewhere, and it wasn’t the veggies! Fat got a really bad rap with the “low fat” and “fat free” craze, but getting “good fats” is really important. I’d like to think that this is a source of good fats.
Then I transferred the broth to smaller containers. I think I got about 2.5 litres out of this batch.
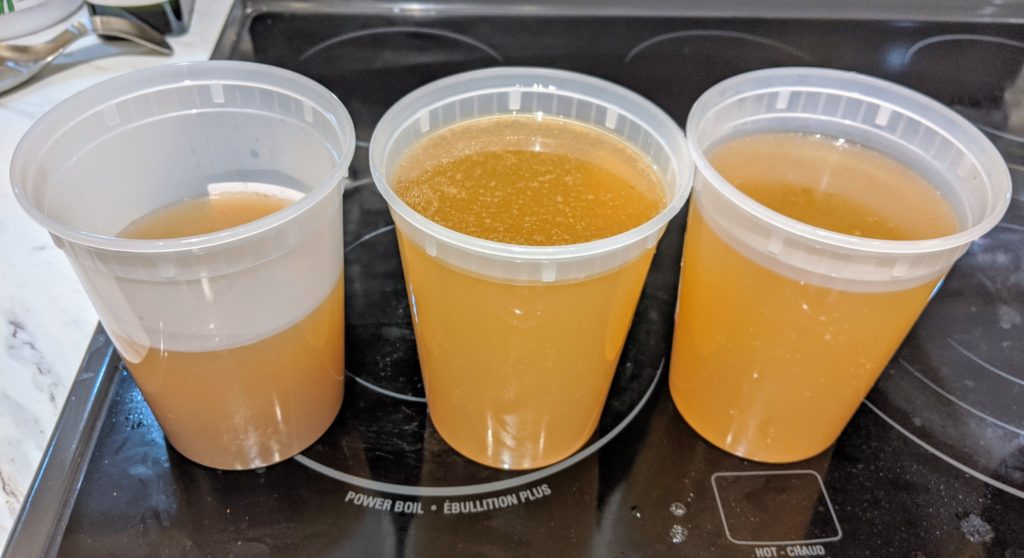
I drank the one on the left shortly after cooking. It was yummy. In retrospect, the flavour is a little thin. It could have used a bit more bones, or maybe more pepper. My wife says she likes this better than the beef bone broth we get from P.A.T.

I left them in the fridge, and some of the fats accumulate on the top. That’s not good to eat, and worth scraping out with a spoon. The cooled bone broth is actually almost gelatinous, but can be “liquefied” again by warming it up on a small pot on the stove.
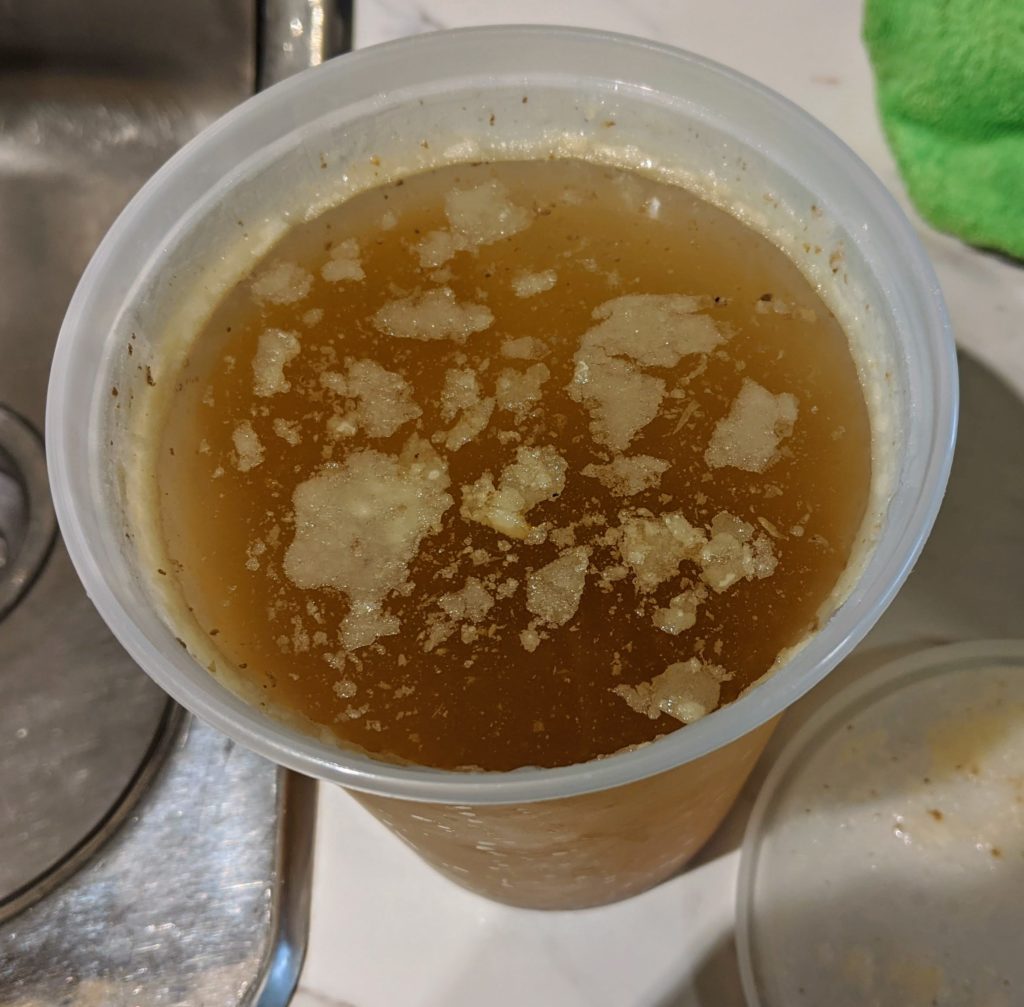
After cooling, some of the fat collects on the top. Easy enough to spoon off 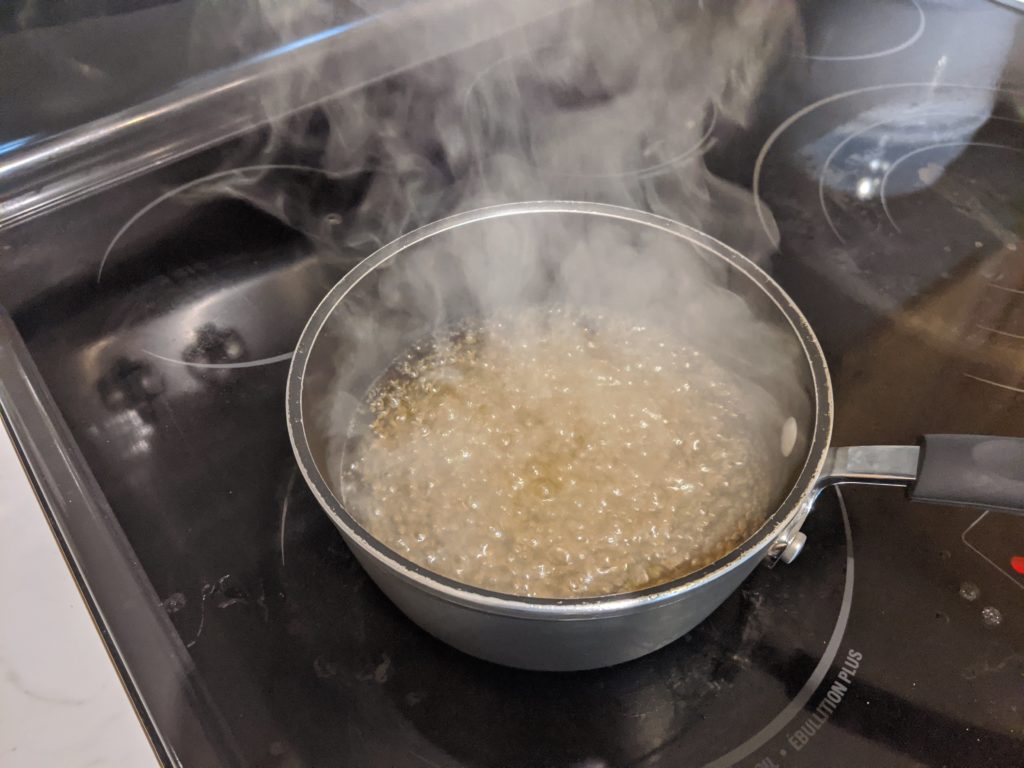
Reheating the bone broth in a bot to give it some warmth again
In the end, it’s a lot of time and a bit of mess to make your own bone broth, but most of it is waiting, so it’s not so bad. Will I do it again? If I have leftover bones, indeed!
Post details
- Categories: Non-Running Recipes
- Published: June 12, 2020
[…] home made bone broth […]